Friday, 27 February 2015

Week 6 Tutorial - Editing Screen-Casts with YouTube!


The second part of this weeks ELab involved using the video platform YouTube to post up our recorded screen casts with added audio. I found this exercise more difficult than the first but I suppose the first exercise was more of an introduction to the tool and this exercise is more practical and helps to improve our understanding and skills.

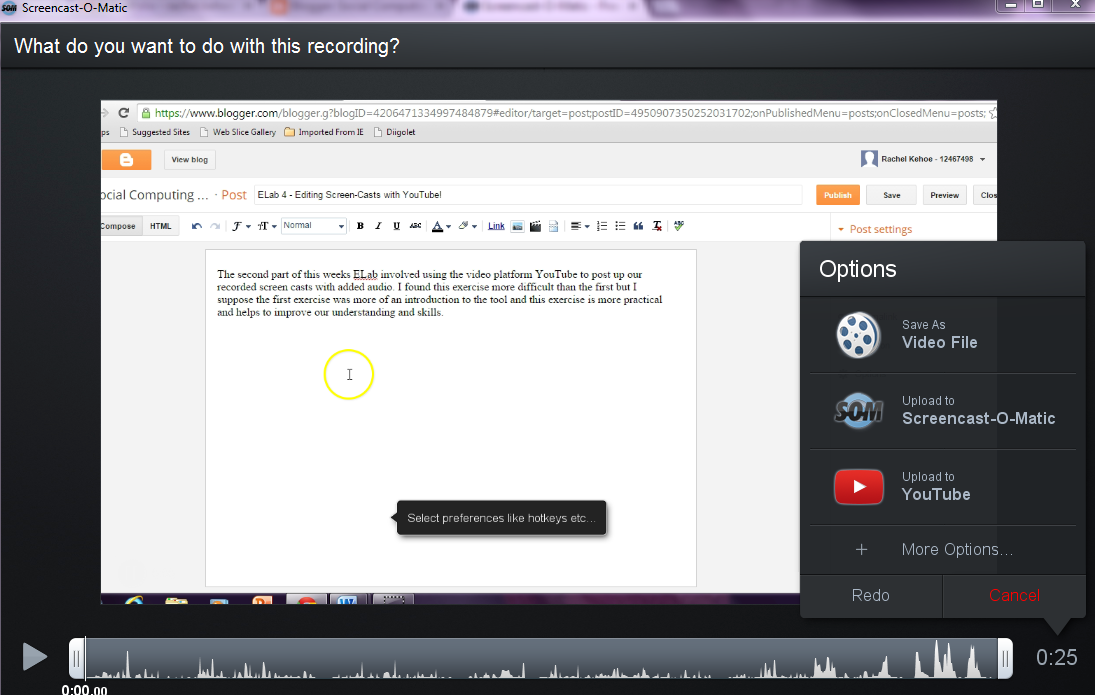
I choose to record myself writing this blog as practice for recording a short video!

The next part of the exercise involved making a short video on "How to conduct a Google search".


This is a screenshot of my completed video and me connecting to YouTube to upload the video.


This is a screenshot of the screen after I connected to my YouTube account. On the right hand side is a list of my options.


This screenshot shows the editing I did to the description and I also added a number of tags and edited the privacy settings of the post.


This is a screen grab of my recording uploaded onto my YouTube page. I will edit the title!


I then went into the editing section of YouTube for my video. To edit the title, add audio and enhance the picture quality.


Here is a copy of my completed YouTube video. Here is a link also: https://www.youtube.com/watch?v=XzcAPTR05CI.


Week 6 Tutorial 27/02/15 - Screen Casting


For week 6 we had an ELab for our tutorial. This tutorial was based on a topic we discussed in the lecture this week of Screen-Casting. Screen-casting enables you to capture information on your computer screen and combine this material with audio to create a video.  For instance, you might use screencasting to provide how-to instructions to complete a given task. The website we had to use for this exercise was "http://www.screencast-o-matic.com/".


1) The first part of the exercise directed us to watch the demo videos of how to navigate around the site and explanation of the  features on the site. 


2) The rest of the exercise asked us to individually record our own screen-cast video. I set the settings to record the screen not through my webcam, Also to record through my laptop microphone. Here is a  few screen grabs of my recorded video. I made a simple video of myself editing a word document. 


I found the whole website and tool easy to use and the demo videos very helpful. As a group we decided to try and incorporate screen-casting into our project as we feel it will enhance the quality of our presentation as well as add more interactive visual representation.

Saturday, 21 February 2015

E-Lab 3 20/02/15 (Week 5)


We had our third face to face computer lab on Friday the 20th of February. This lab was focused around the online application "Prezi". Prezi is a presentation software that allows a more creative and modern way of presenting. I myself have not used it before but I have seen classmates use it during in-class presentations and I feel its much more impressive than the traditional Microsoft PowerPoint.

We were given a list of instructions to follow in order to complete the class. The first was to set up an account on Prezi using our college email.


Next we had to create our first Prezi, we had a list of instructions to follow to help us learn to navigate around the site and get used to the different tools available to use.


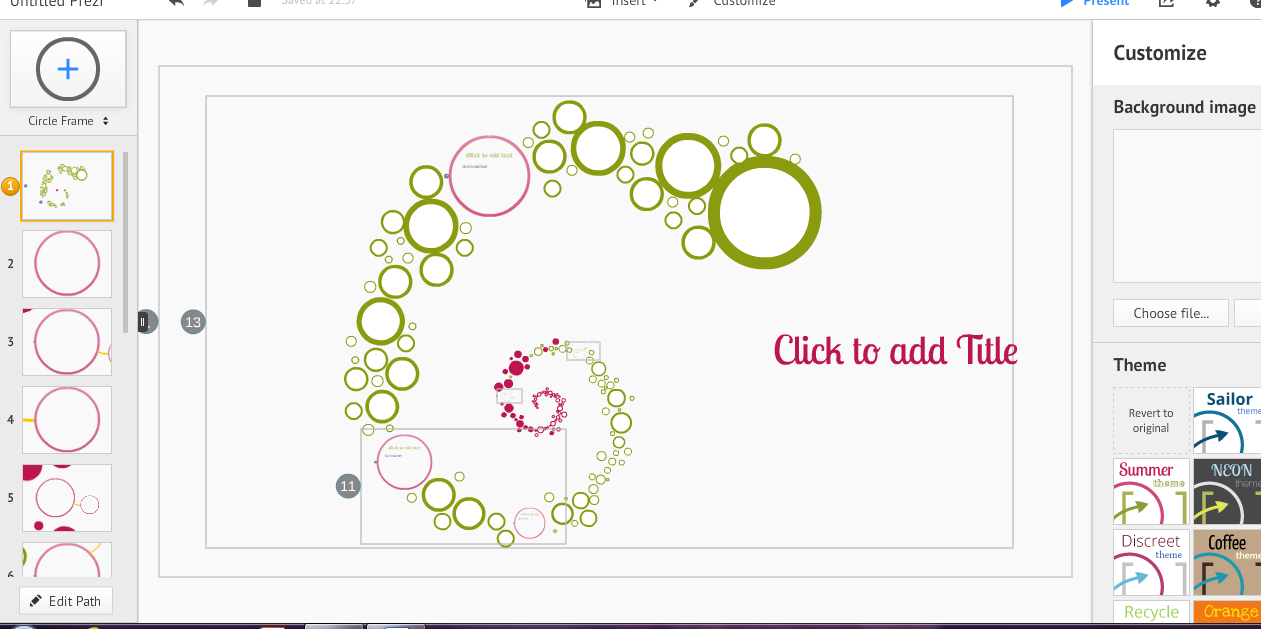
1) I first chose a template, I picked the infinity model.


2) I then picked a theme to customize the template. I picked the summer theme.


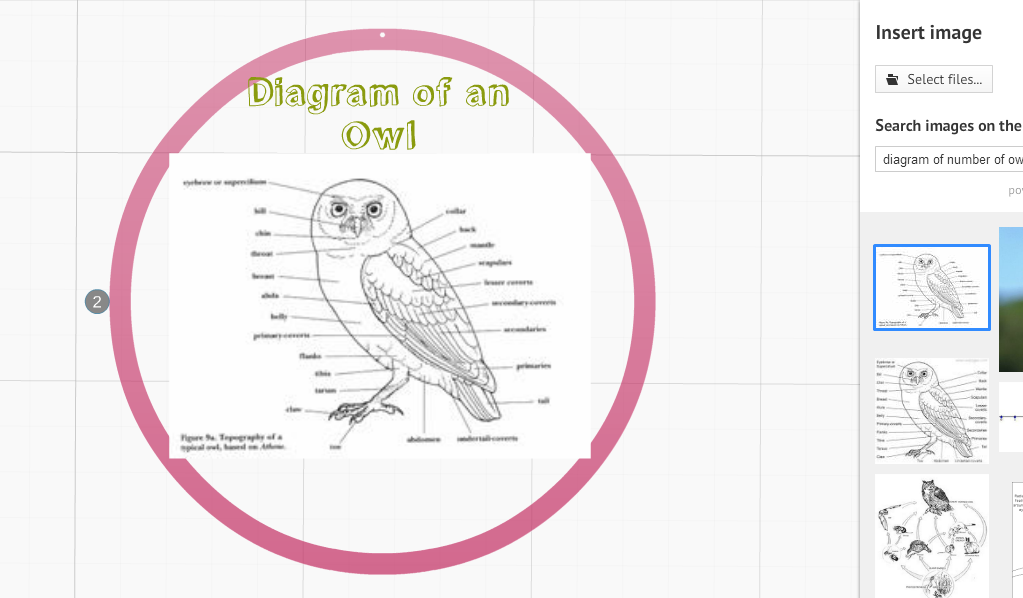
3) The next task specified that we had to insert a diagram into our Prezi! I put a diagram of an owls body.


4) Next we had to add frames and arrows! Here's a screenshot of this on one of my Prezi slides.


5) Next we had to add a YouTube video and an image. I added a link to a video about Barn Owls and an image of a Barn Owl.


6) Lastly we had to share our presentation with our lecturer.

Saturday, 14 February 2015

Week 4- Diigo Exercises! 13/02/15


As a part of our week 4 online lab we we learning about social bookmarking and tagging websites and how to use them. In my previous post I spoke about using the website "Pinterest" in this post I will be discussing the website "Diigo.com". Before the lecture I had never heard of this site but am interested to learn more about it as I think it could help me with my college work. Diigo is a social bookmarking service is an online tool for collecting and organising your web documents.

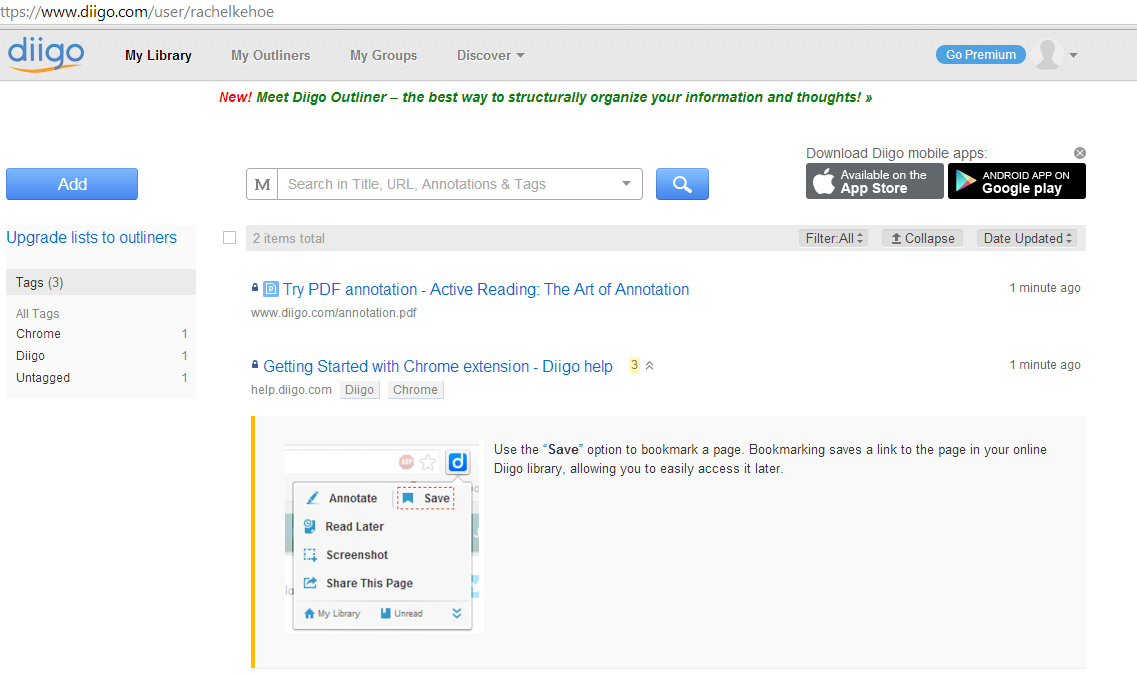
Here is a screenshot of my profile straight after I joined up. 

I then added the Diigolet bookmark to my browser bar.


The last part of the exercise involved following a link to an article about the hazards of social media and bookmarking it using the Diigolet bookmarking button to save it to my Diigo library.


Week 4- Social Bookmarking & Tagging- Pinterest Exercises! 13/02/15


In week 4 our lecture was based on the topic of social bookmarking and tagging. Therefore our online lab we had the following Friday the 13th of February was based on the social bookmarking and tagging sites Pinterest and Diigo.

The first task was based on Pinterest.com. For the exercise we had to create a Pinterest profile for ourselves. I had previously never used Pinterest before so was very new to the site and how it works.
Here is a screen shot of the first board I made on my page about my favorite TV shows.


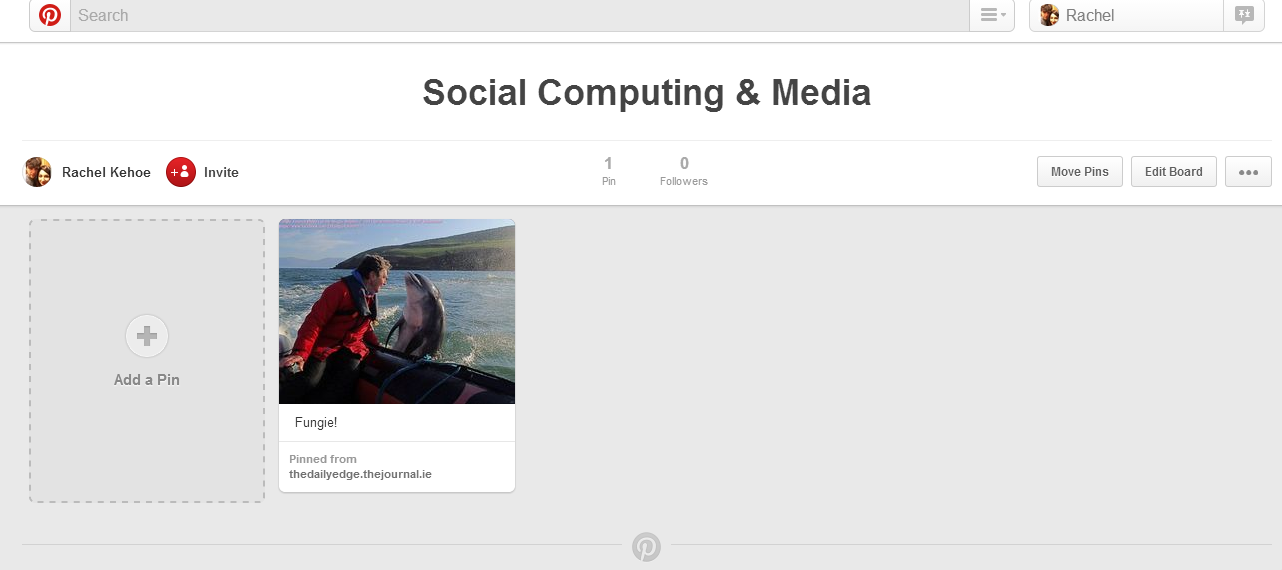
The next task was to add an image from the journal.ie website of Fungie to a board by "pinning" it to the board. Here is a screenshot of the task completed.


The third task was to follow the board "Stuff I Want To Make!" and repin an image from their board that I like onto my own board! Here is a screen shot of this. 


ELab Two 6/02/15


We had our second face-to-face lab in week 3 on Friday the 6th of February. In this lab we worked on the App Inventor 2 again. In this lab our exercises were more complex than our first introduction the previous week. I found the instructions easy to follow and learned how to add more features to the app and really make it more interactive. The name of the exercise was Magic 8 ball app. The objective was to follow the instructions to make the app shake, reveal an answer and make a noise also.

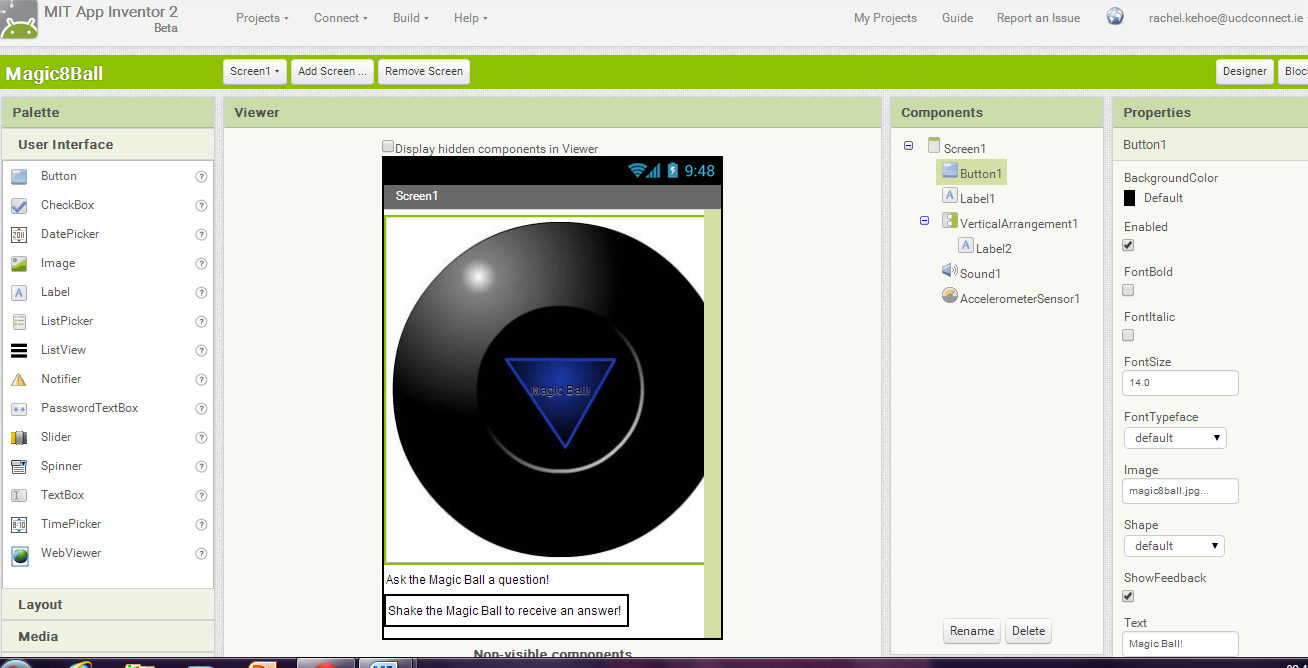
Here are some screenshots of my finished Magic 8 Ball. The first is a shot of completed Magic 8 Ball in the design view. The second image is of the blocks used to program what the magic 8 ball does e.g the sound it makes, what happens when it is shook and the answers it gives.


ELab One 30/02/15


In week 2 we had our first E-Laboratory on the 30th of January. I was sick and missed the lab but did the exercises that my classmates completed in the lab the following week. Here are some screen shots from my work. We were introduced to the app-inventor website for the first time.


I found the application confusing at first but soon got used to the set-up and how the site works.